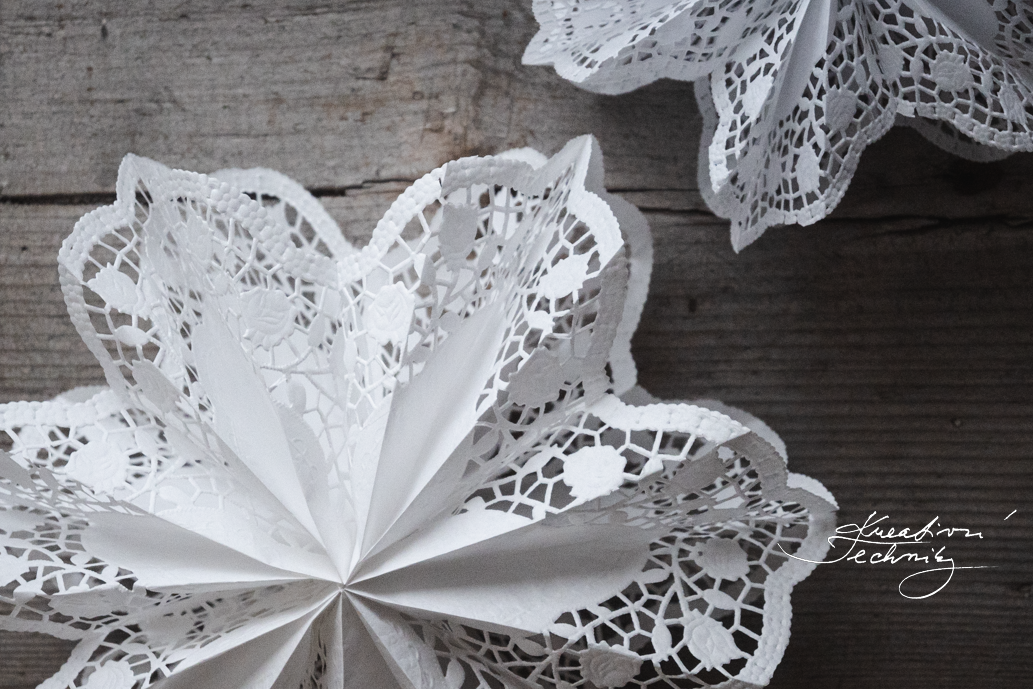
Christmas window decorations that you can buy for a few crowns. The 3D paper poinsettia is effective in appearance and simple to make. You can find inspiration and “how to” instructions in the following video tutorial.

Christmas decorations made of paper
Paper Christmas decorations are very popular, cheap and easy for anyone to make. Paper decorations are perfect for Christmas creations with children. We don't have to invest in expensive materials. We can process what we have at home. Children will have a great time and can also decorate their room or the Christmas tree with their own hands. Paper flakes are beautiful and simple decorations that we can make in many ways in different sizes and shapes. They look beautiful hung on the window or on the wall.
Video tutorial
Instructions
Paper poinsettias are made from cake mats. Even a complete beginner can create them in a few minutes. It is an alternative to flakes from paper bags. In this case, no cutting is needed.
Material
- paper mats for the cake 6 pcs
- glue stick
- scissors
- fishing line / thin string
Folding
We will proceed according to the attached video instructions. Fold the round paper mat in half. We open it and fold both opposite sides so that they meet in the middle. Fold the folded strip in half upwards. We open it and glue the arcs to each other about halfway up the inner fold. We will thus create a small “pocket”. We repeat the same for all 6 pieces.
Bonding
We glue 6 identical “pockets” on top of each other. Gluing the star is very simple. We apply the glue in the shape of the letter T. We start with a straight stroke on the lower edge of the pocket (bottom) and continue through the middle, straight towards the edge and to the full places in the lace part. We attach the second pocket and continue gluing in the same way. In the next layer, stick the line for hanging. We apply the glue with straight strokes, always in the same places, layer by layer. It is important to fold the pockets accurately and carefully. Make sure that all sides match up exactly so that the finished paper star has a nice regular pattern. Finally, open the flake, glue the first pocket to the last, and the Christmas window decoration is ready.
Arrangement
We can make these paper Christmas stars in different sizes. Used mats are available in multiple sizes and patterns. Lace paper stars are beautiful on the window and on the wall. They look very nice hung in the space. Smaller stars from small mats look beautiful as Christmas decorations on a tree or branch.

View all of ours video tutorials a video recipes in one place
Do you like inspiration and instructions for creating Christmas window decorations? Are you looking for inspiration for interesting decorations and wreaths? Check out our original DIY instructions and crafting ideas all year long. You can be inspired by our originals instructions and ideas for decorations and accessories for various occasions. View patterns and tutorials at knitting a crochet or try and taste our proven ones homemade recipes. The time for creating Advent and Christmas decorations is approaching. Here you will find interesting instructions and inspiration for Advent wreaths, Christmas decorationshomemade recipes for Christmas sweets, Christmas, Christmas gingerbread…
All photos in the article: author Andrea Kočová / Kreativní Techniky